
Great product design is all about structuring and organizing information, and presenting it clearly to the user. So using the actual information you want to present is key, not only to help inform your designs, but also to populate them in Figma. Understanding how to leverage real content can transform your design process, making your prototypes more accurate and dynamic.
In this post we’ll take a look at how to elevate your designs with real data.
Why design with real data in Figma?
Reduce design time
You can save a lot of time by designing for the exact content you have and want to show. When using placeholders, you design based on assumption and bias, meaning that the real thing could look very different. Plus, you’ll probably have to go back later to update all your designs with real content, which could lead to adjustments in your UI.
By designing with real content and data from the very beginning, you design with reality instead of bias. You can uncover design and UX problems much earlier on in the process, therefore creating a better user experiences in less time.
Better research and testing
By using real data in your mockups and prototypes, you make sure they are as close as possible to the final product. This means you’ll have more accurate prototypes for research and testing, leading to much richer feedback, as people react more deeply to data (especially if you’re using theirs) than if they’re seeing a fake mockup filled with placeholders.
Design for edge cases
Using content placeholders in designs makes it much harder to see the issues and constraints that could arise when real content replaces it later. By connecting real data to your designs, you’ll immediately see how actual content affects your final design, and if there’s a change, that will be reflected too.
Plus, by using different datasets, you can stress test your designs for edge cases such as really long content, or how it will look in another language. This will help answer questions and uncover UX problems much earlier in the design process.
Increase team efficiency
Knowing how real content looks and works in advance means you and your team can plan for potential risks and constraints. This means there are fewer surprises when designs get implemented, as both design and engineering know what to expect. You’ll also save a lot of time updating content across all your designs because with data.to.design it’s automatic!
How to import data into Figma to use in your designs
For this step-by-step guide, we’ll be using data.to.design, a Figma plugin that connects your company’s content and databases directly to Figma, so you can populate your designs with real data. Let’s dive in!
1. Prepare the data you want to import into Figma
You’ll first need to see where your data is stored and what format it comes in. data.to.design currently supports any .CSV file, Notion, Airtable, JSON files and Google Sheets. If you’re using Excel for example, you’ll first need to export your spreadsheet as a .CSV file before using it in data.to.design.
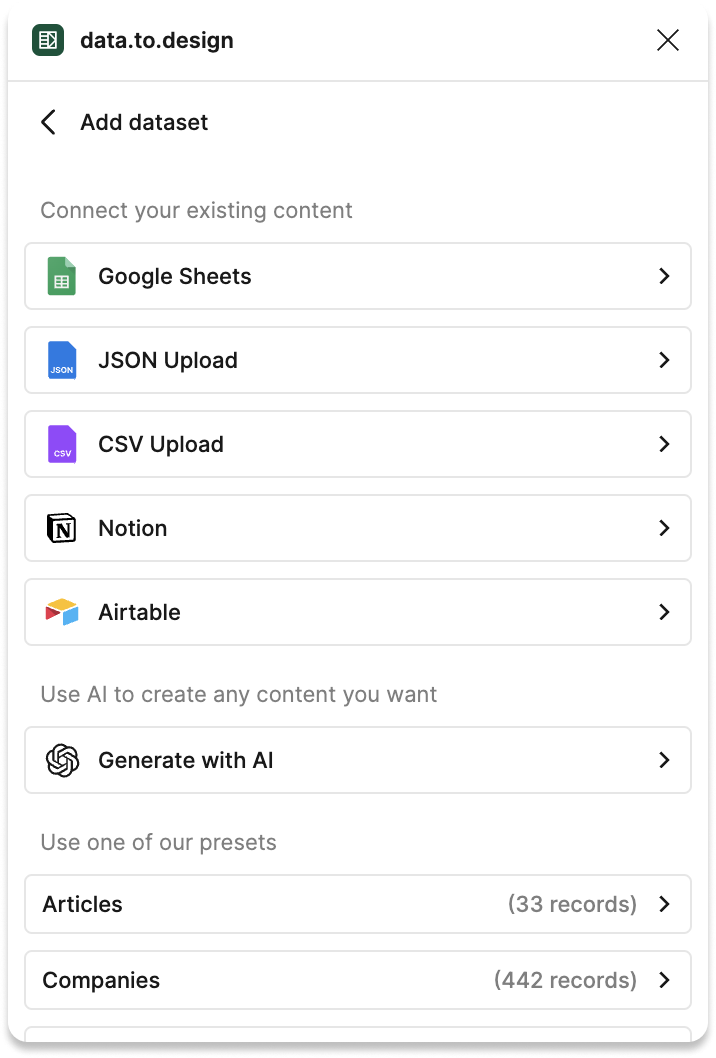
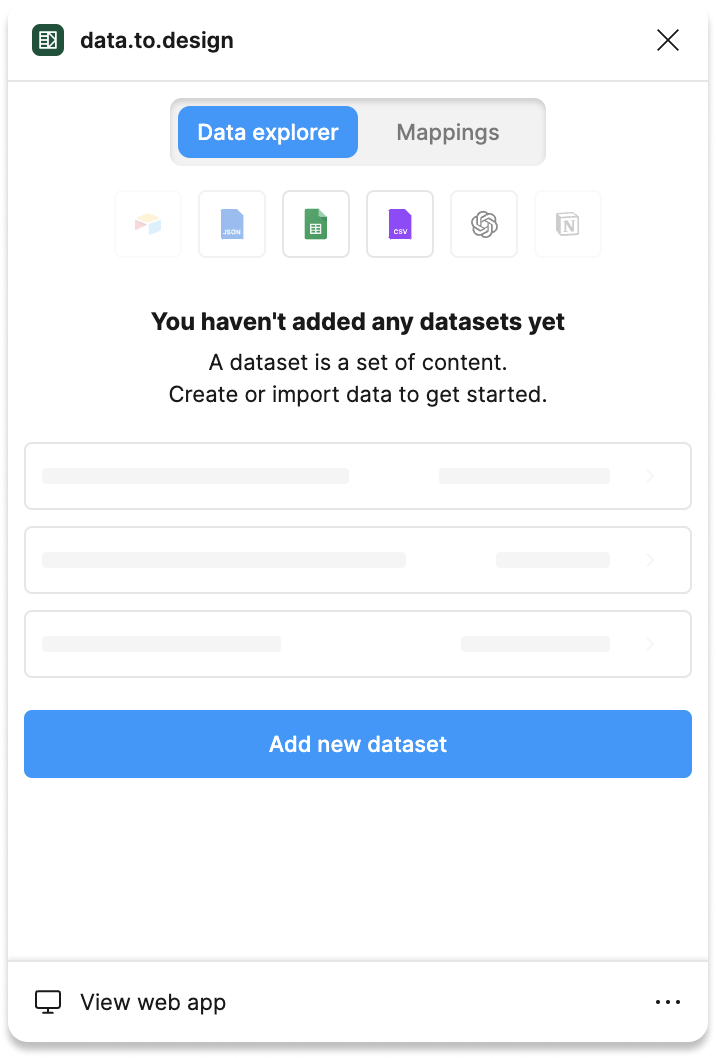
2. Connect your data to Figma with data.to.design
Once your data is ready to use, launch data.to.design in the Figma file where your designs are. Import your data into Figma by adding a dataset. Choose the right file format for your data and follow the steps to bring it into the plugin.
3. Apply data to your designs
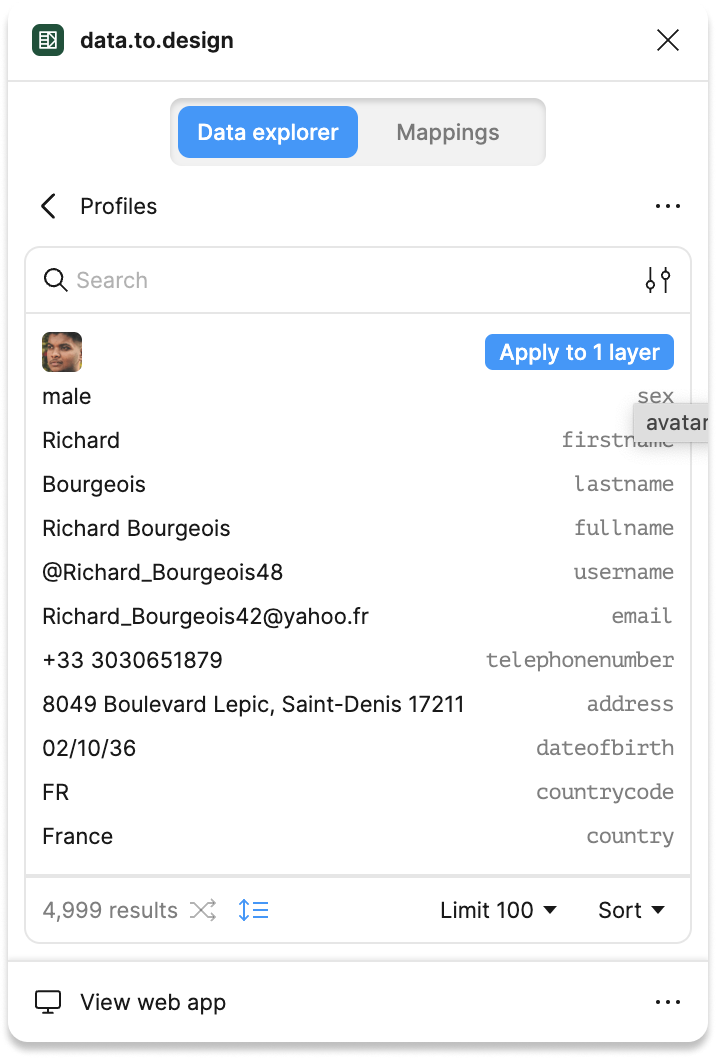
Now that you have your dataset in the plugin, you can browse through and select any piece of data to use in your designs. With a layer in your Figma canvas selected, simply hover over the piece of data you want to insert and click “Apply to layer”. You can also do this for several design elements at once by selecting multiple layers before applying the data.
4. Level-up your game with data mappings
If you really want to sync your data and designs, you’ll need mappings! Mappings are powerful links between your data and Figma layers that you can instantly re-use in new designs and see how content changes are applied everywhere in one go.
To create your first mapping, toggle to the “Mappings” screen and select the dataset you want to use. Then pick which piece of data you want to link to an element in your design. Repeat this as many times as you need and save your mapping(s) so your data and designs are always connected. If the content in your dataset changes, update it in data.to.design so it’s automatically reflected across your designs in Figma!
💡 Tip: We recommend creating mappings for components, as this way all instances of components will be linked directly to the right data when using them in new designs.
Start designing with real data
Designing with real data in Figma can bring a boost to your whole design process. Not only will you get mockups that are as close to the real thing as possible, but you’re also be able to conduct more accurate research, speed up design time and improve the design-development handoff.
Ultimately, using real data helps us design better products. Give data.to.design a try and tell us what you think!